
Run a phishing campaign
Launch a simulated phishing email against your users, choose who gets it and when, and know what to expect after you hit launch.
A phishing campaign is a simulated attack email sent to a set of your users. Hook tracks who opens it, who clicks the link, who submits credentials on the landing page, and who reports it.
Most teams run one against the whole organization each quarter, with smaller ones in between. Send your first to a handful of friendly colleagues, so you find out whether the mail actually arrives before you test everyone.
Two things need to be in place first: your users have to be in Hook, and your IT team has to have allowlisted Hook's sending IPs. See Sync users from Microsoft Entra and Safelist Hook's sending domains and IPs. If the mail gets filtered, your results will overstate how well your users are actually doing.
Open the wizard
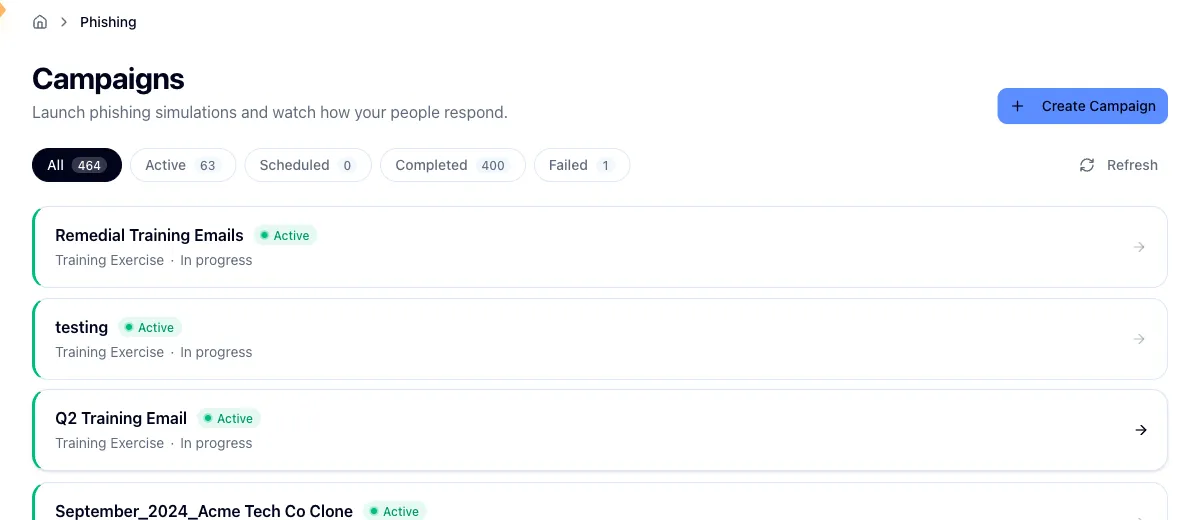
Open Simulations in the sidebar to see every campaign you've created, then click Create Campaign. The wizard has four steps, with a summary panel on the right that tracks your choices. Click any section of it to jump back.
Campaign Details
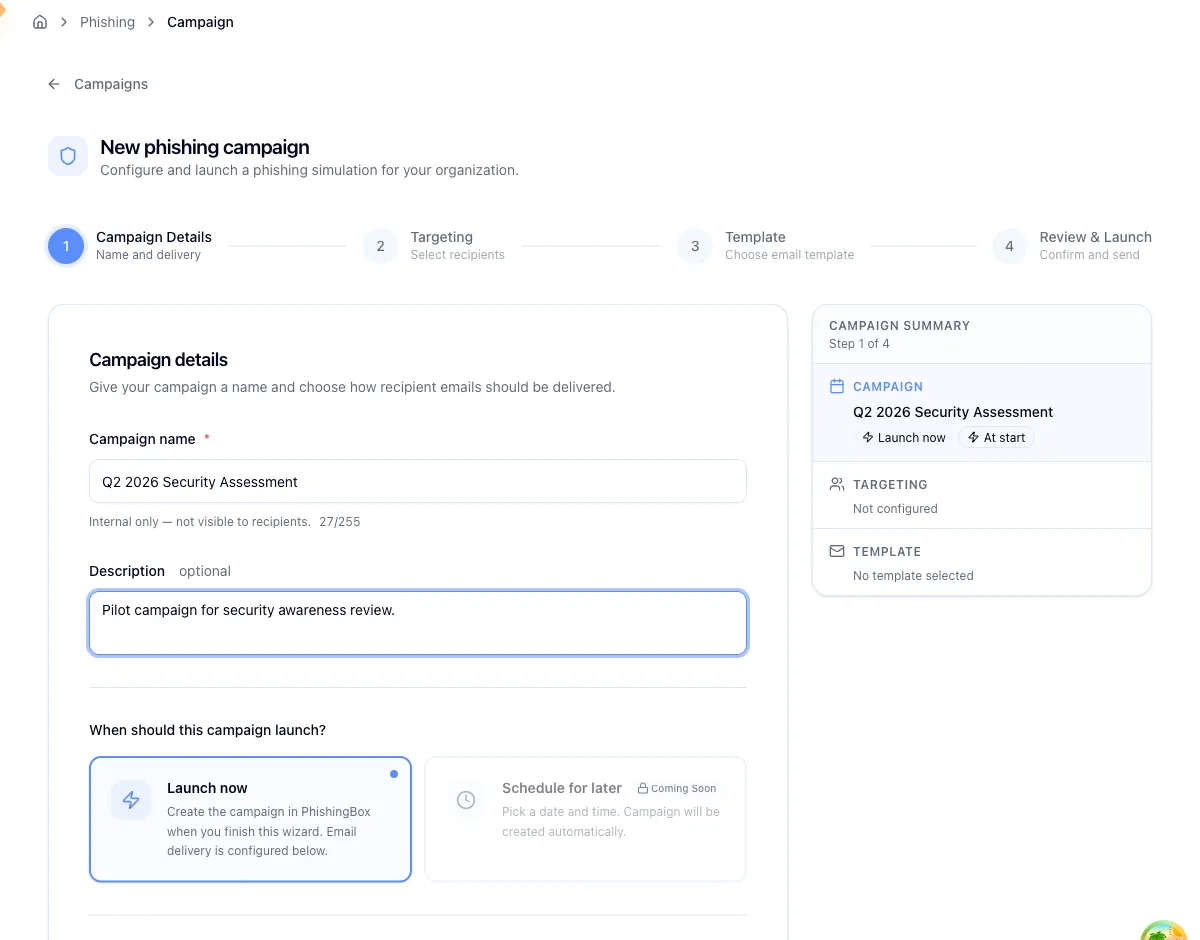
Name the campaign something you'll still recognize in three months, like
Q2 2026 Security Assessment. The name is internal and never appears in the
email your users receive. It has to be 2 to 255 characters. A description is
optional and equally private.
Then decide when the campaign goes out. Launching as soon as you finish the wizard is your only option. Beside it the wizard shows a Schedule for later tile, greyed out and marked Coming Soon, so there is no setting that turns it on and nothing to ask support for.
Delivery timing is a separate decision about pace. Sending at campaign start pushes everything out at once, capped at 1,000 emails per hour. Spreading delivery trickles emails out across business hours, Monday to Friday, 8:00 AM to 5:00 PM, which looks more like a real attack and stops your help desk taking every call in the same minute.
Targeting
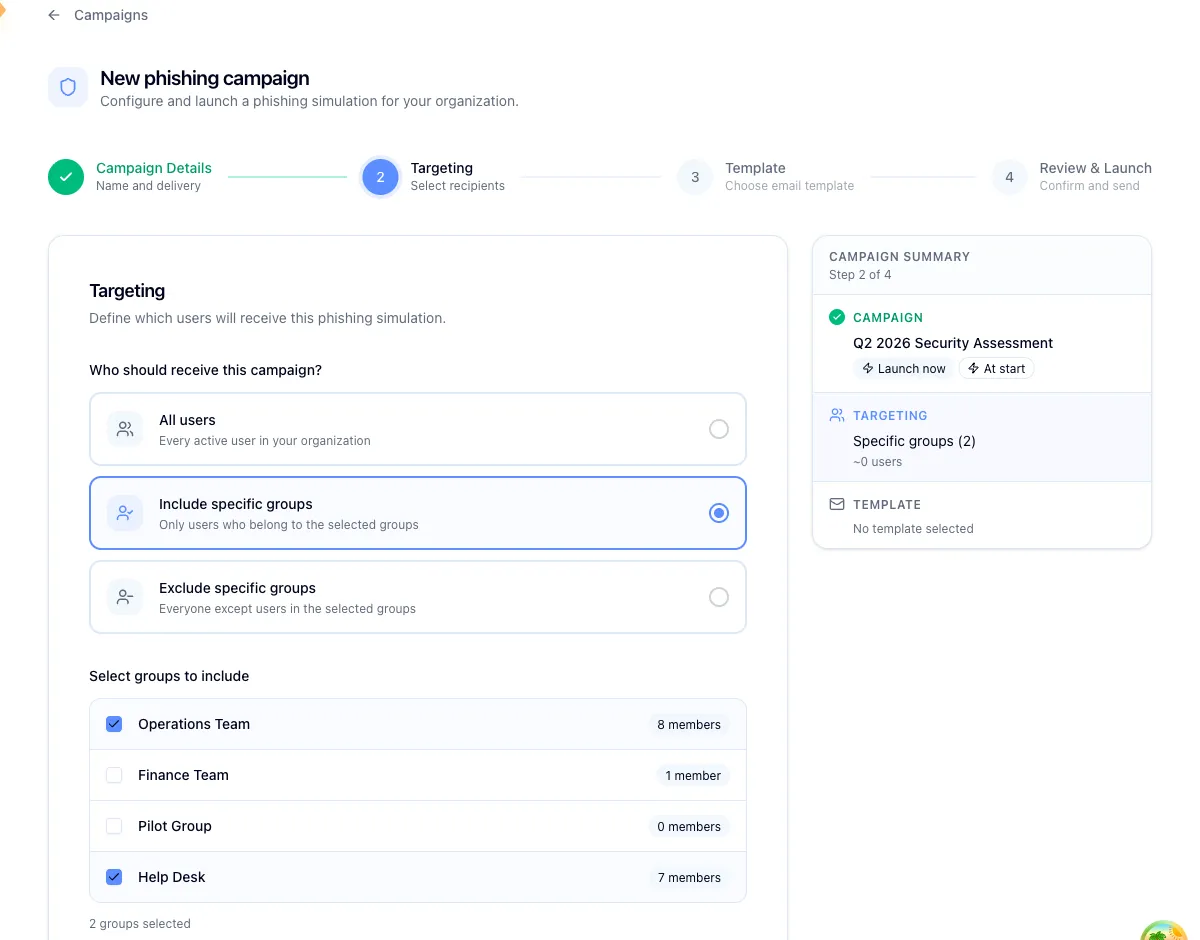
Send to every active user in your organization, or to specific groups. Each group shows its member count, and an estimated audience updates as you tick boxes. You can select up to 500 groups.
Treat that estimate as a snapshot. The real recipient list is resolved when the campaign sends, so the final number shifts if someone joins or is deactivated in between.
Template
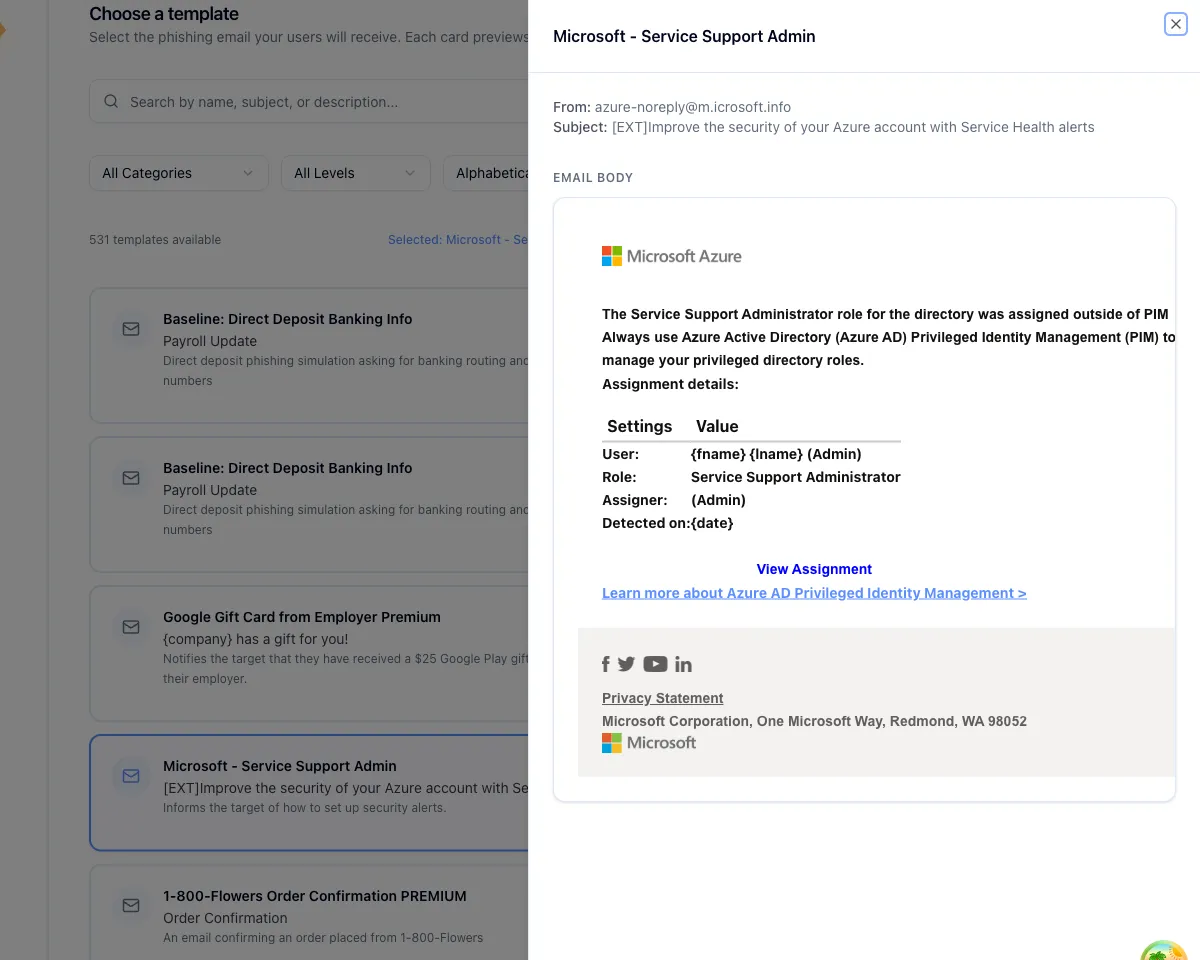
Pick the email your users will receive. Each card shows the name, subject line, and a short description, with category and difficulty badges where that information exists. The grid shows six at a time, so search and the category and difficulty filters will get you there faster than paging through. Any custom templates your org owns sit alongside the stock ones.
Preview renders the full email and the landing page exactly as a recipient sees them. Read it before you commit. A lure referencing a courier or a benefits portal your company has never used tests nothing except whether people spotted a detail that doesn't apply to them.
Review and Launch
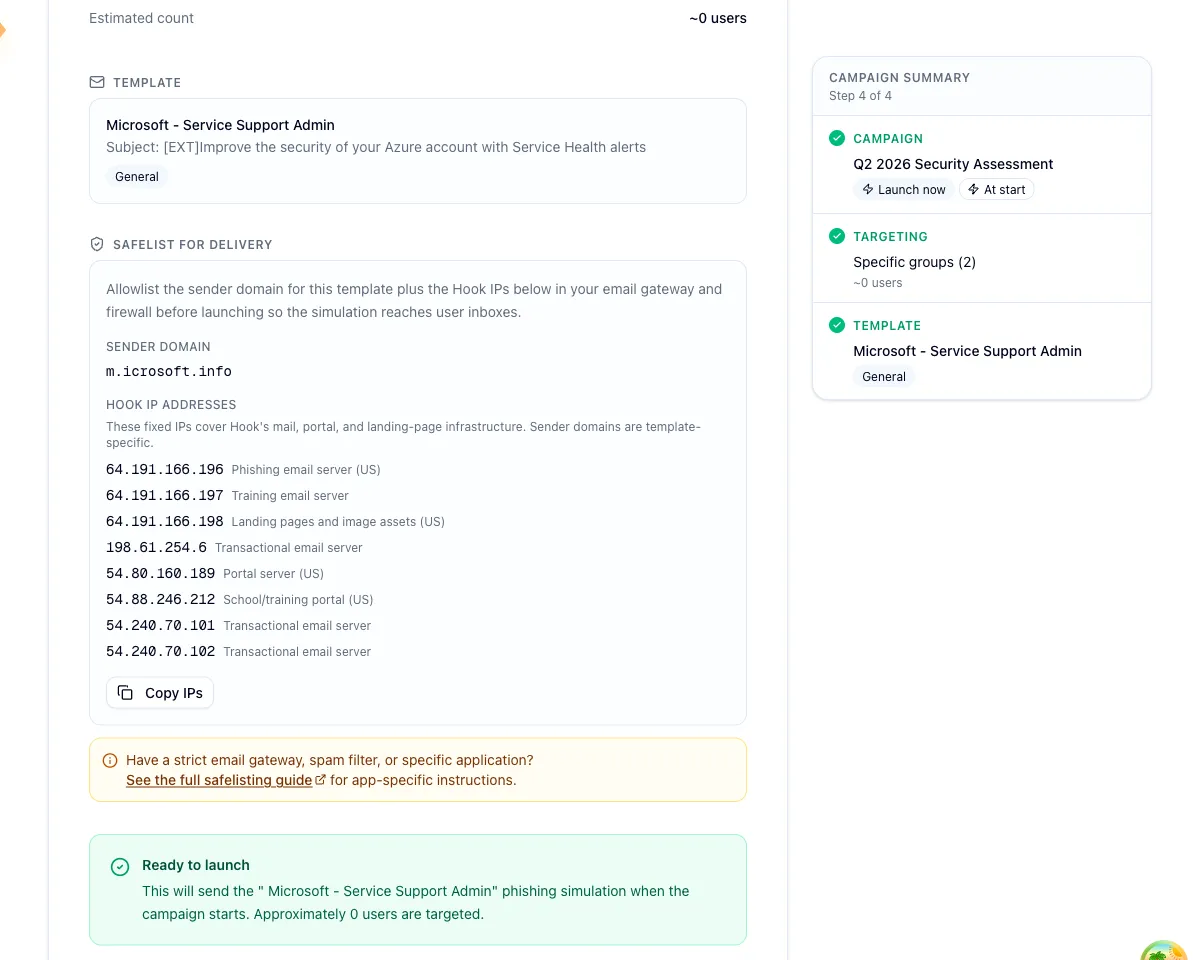
The last step restates everything: name and description, Launch timing, Delivery, your recipient mode and estimated audience, and the template. It also carries the safelist panel with Hook's sending IPs and the sender domain for your template, which is your last chance to catch an allowlist you never actually asked IT for.
Click Launch Campaign when you're ready. Depending on how your account is set up, you'll either land on the campaign's detail page or get a confirmation inside the wizard that you close yourself. Both mean the same thing: the campaign is away.
There is no undo once a campaign starts
Launching sends real email to real people and you cannot recall it. Check the audience count and open the template preview one more time before you click.
What happens next
A status pill in the campaign header tells you where things stand. There are six: Setting up while Hook hands the campaign to the delivery provider, Scheduled, Active, Completed, Failed when it never reached the provider, and Archived. Once a campaign is running you also get an engagement funnel, a collapsible campaign details panel, and a recipient activity card showing how far each person got.
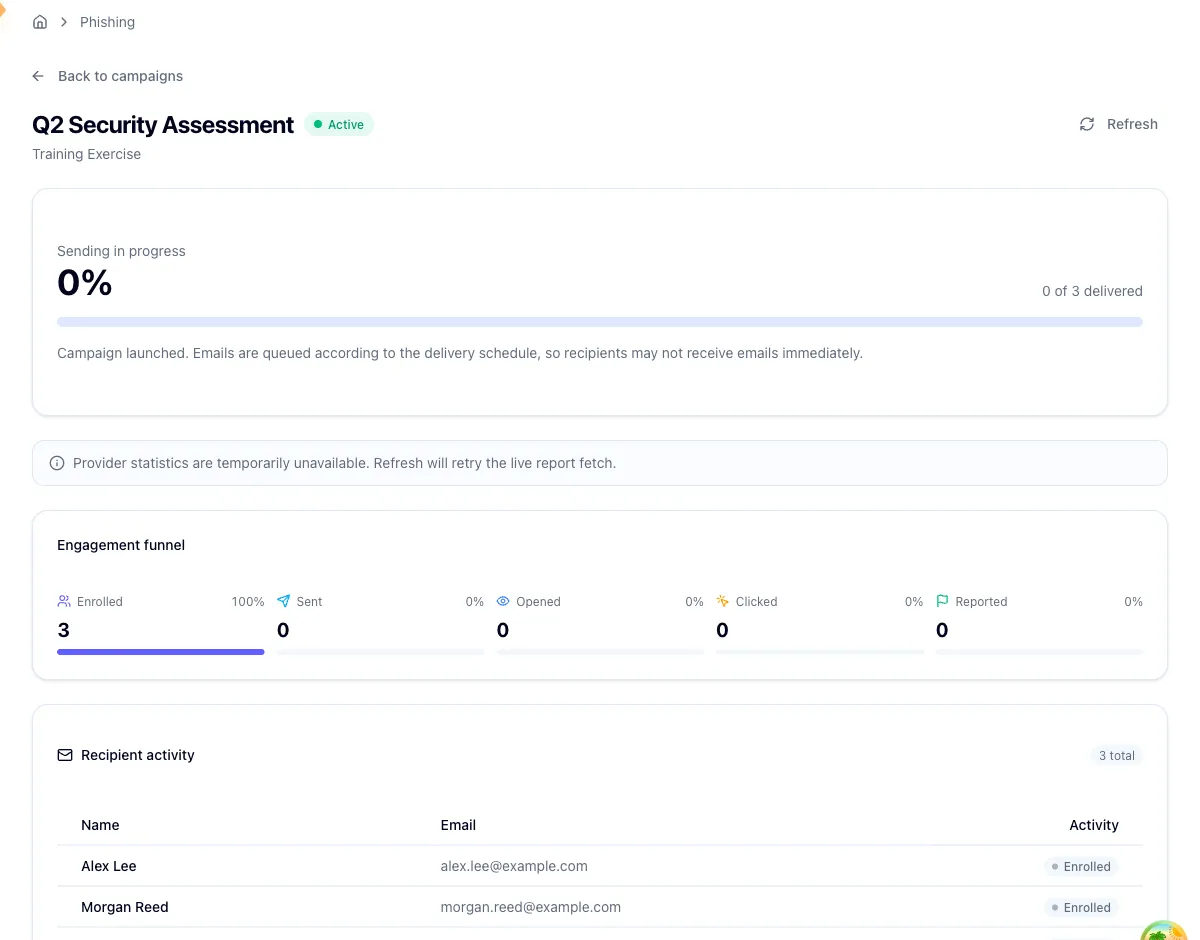
Give it time. Mail doesn't all land at once on a spread send, and clicks and reports keep arriving for the length of the tracking window, 3 days by default. Day one numbers are not final numbers.
When it closes, the campaign's results feed the executive summary report and your security watchlist, which is where you work out who needs follow-up training.
Related
Monitor a live phishing campaign
Read the funnel, the details panel, and recipient activity while a campaign runs.
Manage your phishing template library
Browse and preview the emails you can send, and edit the ones your org owns.
Read the executive summary report
Turn a finished campaign into KPIs, key recommendations, and a list of who needs follow-up training.
Assign training to groups
Enroll the people who clicked into the right follow-up course.
Read the org dashboard
The org home page at a glance: headline metrics, recent campaigns, training progress, Autopilot status, and the shortcuts into the full reports.
Monitor a live phishing campaign
Read the campaign detail page while a simulation runs, and tell the difference between real numbers and a provider hiccup.